GARGardening
How to Install Drip Irrigation: A Step-by-Step Layout Guide
Published 4 min read
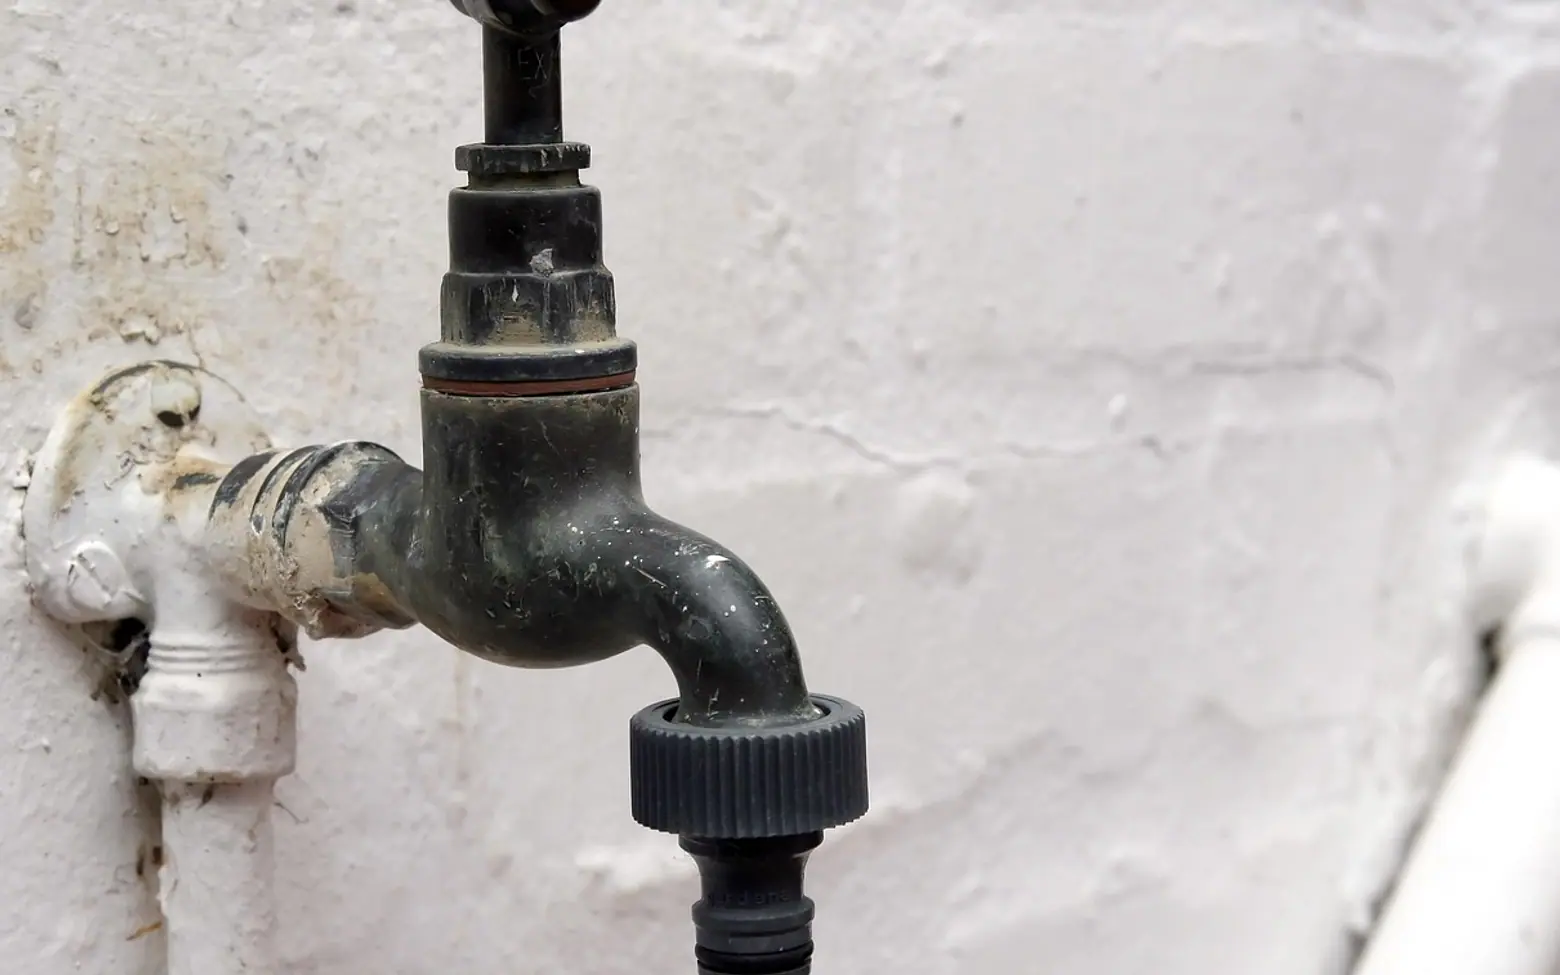
Installing drip irrigation comes down to five moves: fit a backflow preventer, filter and pressure regulator at the tap; run a main supply tube along your beds; punch emitters or micro-tubing into it where plants need water; flush and cap the line; then set a timer. A small garden can be done in an afternoon with a kit, a pair of secateurs and a hole punch.
Drip systems water slowly and close to the soil, so less runs off, leaves stay dry and weeds between rows get less of a drink. They also make holidays and long working weeks much less stressful for anyone growing vegetables.
The parts, in the order water meets them
| Part | What it does |
|---|---|
| Timer (optional) | Opens and closes the supply on a schedule; battery models screw straight onto an outdoor tap |
| Backflow preventer | Stops garden water being drawn back into the household supply; often a local requirement |
| Filter | Catches grit that would otherwise block tiny emitter openings |
| Pressure regulator | Drops mains pressure to the low level drip fittings are designed for |
| Tubing adapter | Connects the tap fittings to the main supply tube |
| Mainline tubing | The wider poly tube that carries water along the beds |
| Emitters or dripline | Release water at a set rate, usually rated in gallons or litres per hour |
| Micro-tubing and stakes | Thin feeder lines that carry water from the mainline to individual pots or plants |
| End caps or figure-eight closures | Seal the far end of each run so it can be opened for flushing |
Buy fittings from one system or brand where you can. Tube diameters that look identical sometimes differ slightly, and a loose barb is the most common cause of leaks.
Plan the layout first
Sketch the garden on paper and mark every bed, container and shrub you want to water. Group plants with similar needs onto the same run: thirsty vegetables on one line, established shrubs on another. If a single tap has to supply a long or complicated layout, split it into zones and water them one after another, because each line can only feed a limited number of emitters before pressure drops at the far end. The packaging of most kits states the maximum run length and flow for that tubing size.
Before staking anything into the ground, mark where buried cables and pipes run. If you have garden lights, the cable route from our guide on installing low-voltage outdoor lighting is the one to avoid when driving stakes.
Step-by-step installation
- Assemble the head at the tap. Screw on the timer if you use one, then the backflow preventer, filter, pressure regulator and tubing adapter, in that order unless your kit says otherwise. Hand-tight plus a little is enough on plastic threads.
- Unroll the mainline in the sun. Poly tubing is stiff when cold. Leave it in the sun for half an hour and it relaxes and lies flat.
- Lay the mainline along the beds. Push the end into the adapter and run the tube along the edges or between rows. Hold it in place with stakes every metre or so, and use elbows and tees for corners and branches.
- Add the emitters. Punch a hole with the dedicated tool, push in an emitter, and place one or more near each plant. For pots and hanging baskets, punch in a barbed connector, attach micro-tubing and run it to the container with a stake-mounted emitter at the end.
- Flush the line. Before capping, turn the water on and let it run for a minute to wash out any plastic shavings or soil.
- Close the end. Fit an end cap or fold the tube into a figure-eight closure.
- Test and adjust. Run the system and walk the line. Look for dry plants, puddles and spurting fittings, then move or add emitters as needed.
Drip emitters or dripline?
Individual emitters suit gardens where plants are spaced apart: shrubs, tomatoes, pots. Dripline, with emitters built in at regular intervals, suits close rows and raised beds where you want an even band of moisture. Many gardens use both, with dripline snaking through vegetable beds and separate emitters for containers. If you are building new beds, our guide on how to build a raised garden bed covers sizing so a couple of dripline runs cover the whole surface.
How long should you run it?
There is no single answer, because soil, weather, plants and emitter rates all differ. A practical method is to run the system, then dig a small hole beside a plant an hour later and see how far down the moisture has gone. Aim for soil that is damp through the root zone without being soggy, then set the timer to repeat that. Longer, less frequent watering encourages deeper roots than short daily bursts. Recheck in hot spells and again as plants grow.
Keeping it working
- Clean the filter screen a few times a season, more often if your water carries sediment.
- Open the end caps and flush each line now and then.
- Replace any emitter that stays blocked after a rinse.
- Cover exposed tubing with mulch; it protects it from sun damage and hides it.
- Before the first frost, disconnect the head assembly, drain the lines and bring the timer and regulator indoors.
Can I connect drip irrigation to a rain barrel?
Yes, though a barrel delivers very low pressure. Use fittings and emitters sold for gravity-fed systems, raise the barrel as high as is safe, and keep a filter in the line.
Is drip irrigation worth it for a small garden?
For a single pot on a balcony, a watering can is simpler. Once you have a couple of beds, a row of containers or regular time away from home, a basic kit tends to repay the setup effort quickly in saved time and steadier growth.
Questions? Write to us.
A short note is enough.