GARGardening
How to Build a Raised Garden Bed in a Weekend
Published 5 min read
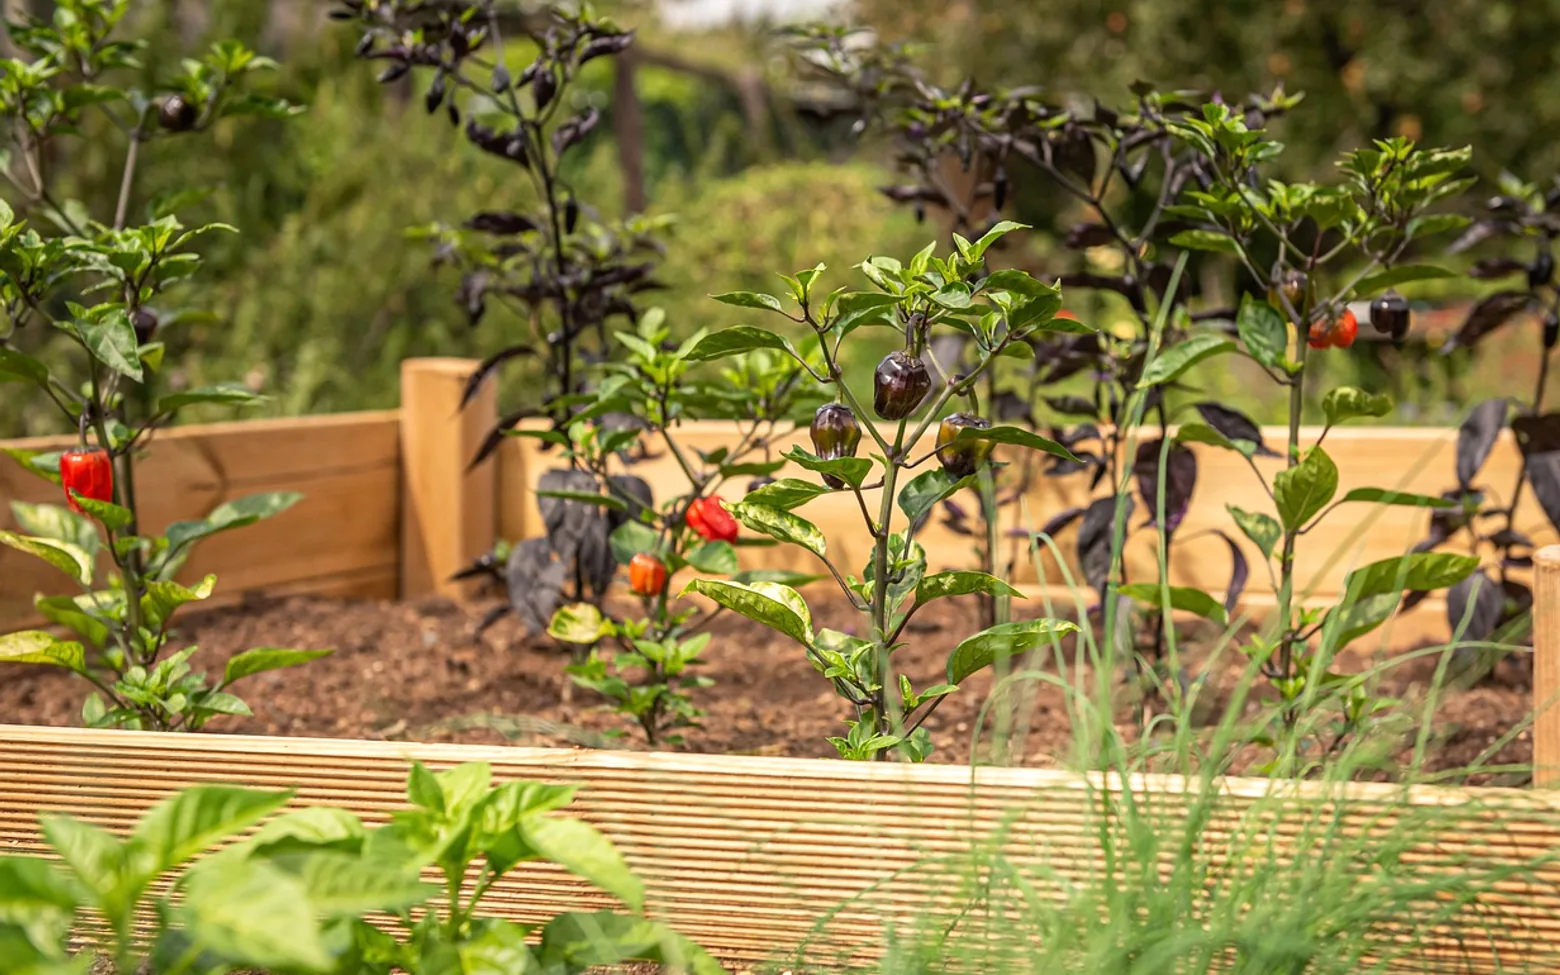
To build a raised garden bed, choose a level and sunny spot, assemble a rot-resistant frame no wider than you can comfortably reach across, line the base, and fill it with a blend of topsoil and compost. With the timber cut and the soil delivered, the whole job fits into a Saturday and a Sunday morning, and the bed can be planted the same week.
Why bother with a frame at all? A raised bed drains well, warms up earlier in spring and keeps your growing soil separate from compacted ground or heavy clay. The edges stop paths and lawn from creeping in, and the extra height saves your back when weeding after work.
Day one, morning: pick and prepare the spot
Most vegetables and herbs do best with plenty of direct sun, so watch the garden for a day before you commit. Note where shade from fences, trees and the house falls in the morning and late afternoon. A spot close to an outdoor tap saves a lot of hose-dragging later, and a level patch saves you from digging one end of the frame into a slope.
Mark the outline with string and pegs, then lift any turf inside it. You do not have to dig the ground over, but loosening the top layer with a fork helps roots find their way down once the bed is filled.
Choosing materials that last
The frame is the part you will live with for years, so it is worth a little thought:
| Material | Good points | Things to weigh |
|---|---|---|
| Cedar, larch or other naturally durable timber | Easy to cut, looks soft and natural, resists rot without chemical treatment | Eventually weathers and needs replacing |
| Pressure-treated timber sold for garden use | Widely available, long-lasting | Check the label says it suits food growing; some people line the inside with heavy plastic |
| Galvanised steel kits | Slim walls, quick to assemble, very long life | Sides heat up in strong sun; sharp edges need capping |
| Brick, block or stone | Permanent and solid, can double as seating | More work and cost; needs a firm footing |
Avoid old railway sleepers and reclaimed timber of unknown history. Some were treated with creosote or other preservatives that you would rather keep away from food crops.
A sensible size
Width matters more than length. If you can reach the centre from either side without stepping in, the soil stays loose and you never compact it with your boots. For most adults that means roughly four feet (about 1.2 metres) across, or less if the bed sits against a wall and can only be reached from one side. Length is up to you and your budget.
Height depends on what lies underneath. On decent soil, a bed of about 25 to 30 centimetres is plenty, because roots can carry on downward. On paving, very poor ground, or for anyone who would rather not kneel, go taller and expect to buy more soil.
Day one, afternoon: build the frame
- Cut the boards to length, or have the timber yard do it when you buy them.
- Fix a corner post inside each corner. A short length of square timber gives you something solid to screw into and keeps the corners from spreading.
- Screw the sides together with exterior-grade screws, pre-drilling near the board ends to stop splitting.
- Add a centre brace on long beds. A frame full of wet soil is surprisingly heavy and pushes outward, and a brace or stake halfway along stops the long sides from bowing.
- Set the frame in place and check it with a spirit level. Scrape away high spots or pack low ones rather than leaving it to rock.
Do I need to line the bottom?
Laying plain cardboard across the base smothers grass and weeds underneath and rots away within a season. Where moles, voles or gophers are a problem, galvanised wire mesh stapled across the bottom keeps them out. Avoid plastic sheeting on the base itself, because it traps water and stops drainage.
Day two: fill it properly
Filling usually costs more than the frame, so measure the volume first: length times width times depth gives you the amount to order. A common approach is a mix of good topsoil with plenty of well-rotted compost. Bagged products labelled for raised beds work too, though they become expensive on larger frames.
Tall beds can take a base layer of logs, branches or coarse garden waste to reduce the amount of bought soil, an idea borrowed from hugelkultur. The bottom layer settles as it breaks down, so top up with compost over the next couple of seasons.
Water the filled bed thoroughly and let it settle for a day or two before planting. Expect the level to drop a little.
Watering and finishing touches
Raised beds drain quickly, which is good for roots and means they dry out faster in hot weather. A simple dripline laid on the soil surface solves this neatly, and our guide on how to install drip irrigation walks through the parts and layout. A layer of mulch keeps moisture in between waterings.
Leave paths wide enough for a wheelbarrow between beds. If you like being in the garden after dark, low path lights between the frames make evening watering easier; our walk-through on installing low-voltage outdoor lighting covers cable runs and placement. Plan any cable route before the beds go in, so you are not digging next to finished frames.
Mistakes worth avoiding
- Building wider than you can reach, then standing in the bed to weed it.
- Filling with garden soil alone, which tends to compact and drain poorly inside a frame.
- Skipping the centre brace on a long bed and watching the sides bulge.
- Placing the bed in a convenient corner that turns out to be shaded half the day.
- Forgetting access for a hose or watering can.
When is the best time to build one?
Autumn and early spring both work. A bed built in autumn has months to settle and can be mulched over winter; one built in early spring is ready for the first sowings. Summer works too, as long as you keep the new soil watered.
What grows well in a first raised bed?
Salad leaves, radishes, herbs, dwarf beans and courgettes are forgiving choices. Start with a handful of crops you actually like to eat, see how the bed behaves through a season, and expand from there.
Questions? Write to us.
A short note is enough.